Today we are going to do a review on some tow mirrors from Boost Auto. These are the running & signal 1.0 with the high beam led reverse lights. (The installation for dome or switchbacks requires a little more wiretapping). We installed these on our 2007 LBZ Duramax. Will be the same for the 2003-2007 classics. Below we went over a few tips and install notes:
Tools Needed:
-7mm & 10mm sockets
-15 Torx screw
-Trim tools
-Pliers/ wire strippers
-Electrical Tape/ Zip Ties
-Screwdriver
Notes:
*Grey wire - Ground
White wire - Reverse spot
Orange wire - Running lights
Install:
1. Start by taking the door panels off, both sides are the same. If you need a video tutorial, you can find it here.
2. After the panel is off you will be able to see the mirror wires that connect to your door controls. After unplugging them, unscrew the 3-10mm nuts holding the mirror on. (have someone hold it on the outside).
3. Next grab your new tow mirrors and run the wires through the hole and tighten down the 3 nuts. (remember to leave some slack in the orange wire). Plug in your extensions from boost auto (color match them).
4. Using a flat head screwdriver from the top push down on the rubber door boot and they will pop out. Squeeze them together closely and run a straight coat hanger and run your wire leads through the boot and into the cab.
5. On the passenger side you can either run your wires inside the cab under the dash or run them straight out to the hood and then over to the fuse box. (Here we choose to tie the passenger side into the driver's side and run the wires under the dash).
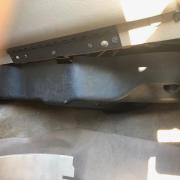
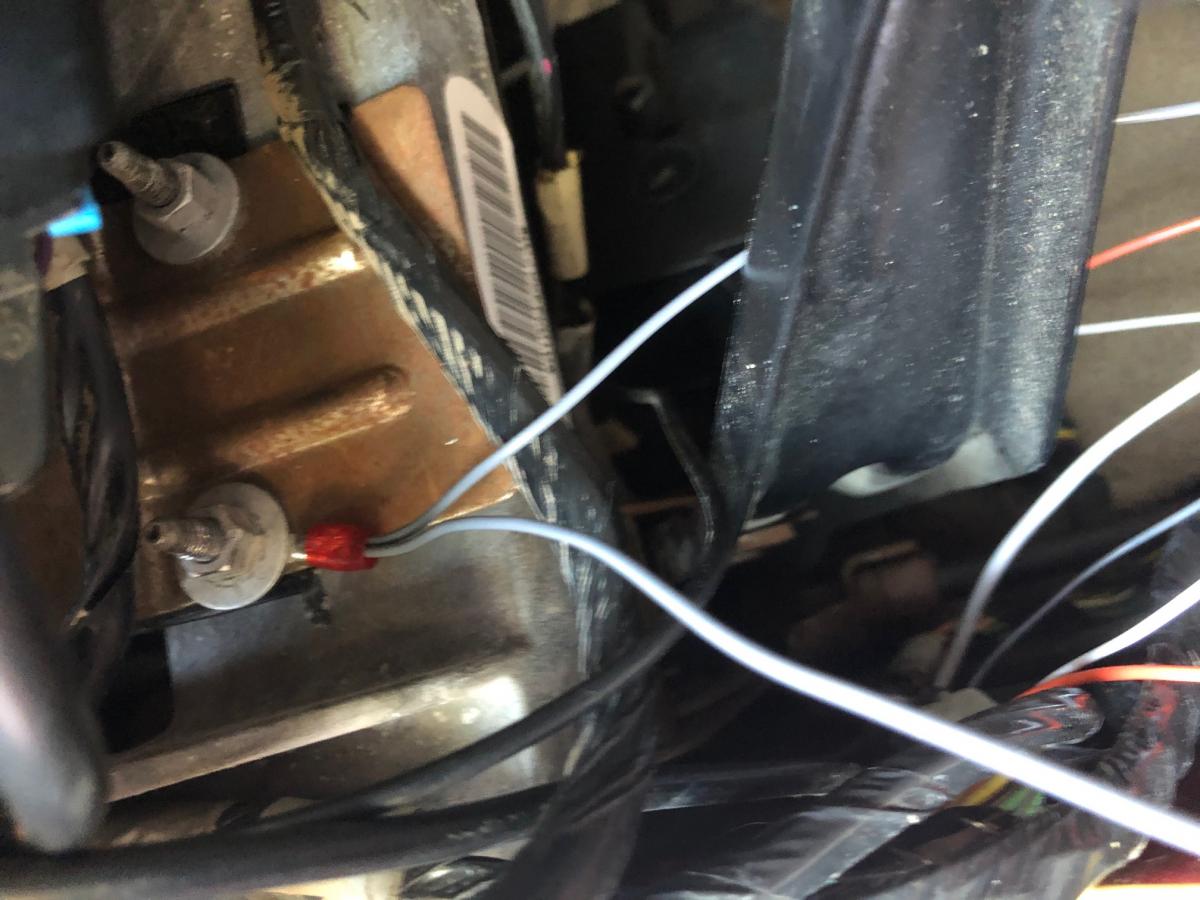
6. For the grey wire you use the bolt under the dash near the E-brake, splice together the grey wire from the passenger to the driver side then put them into the supplied connector and ground them.
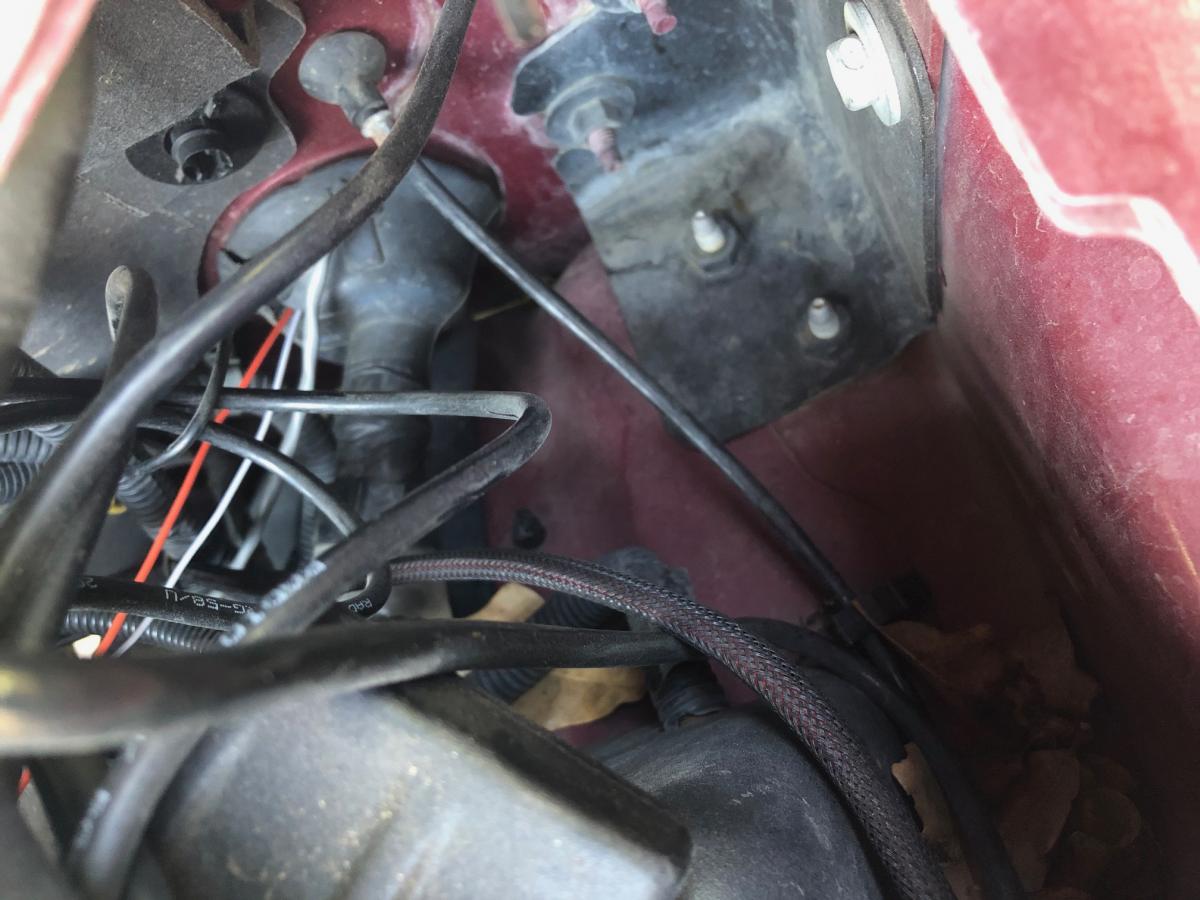
7. Using the driver-side leads, run the white and orange wire through the firewall boot (driver side) using a fishing tool and pull them through, leaving enough slack.
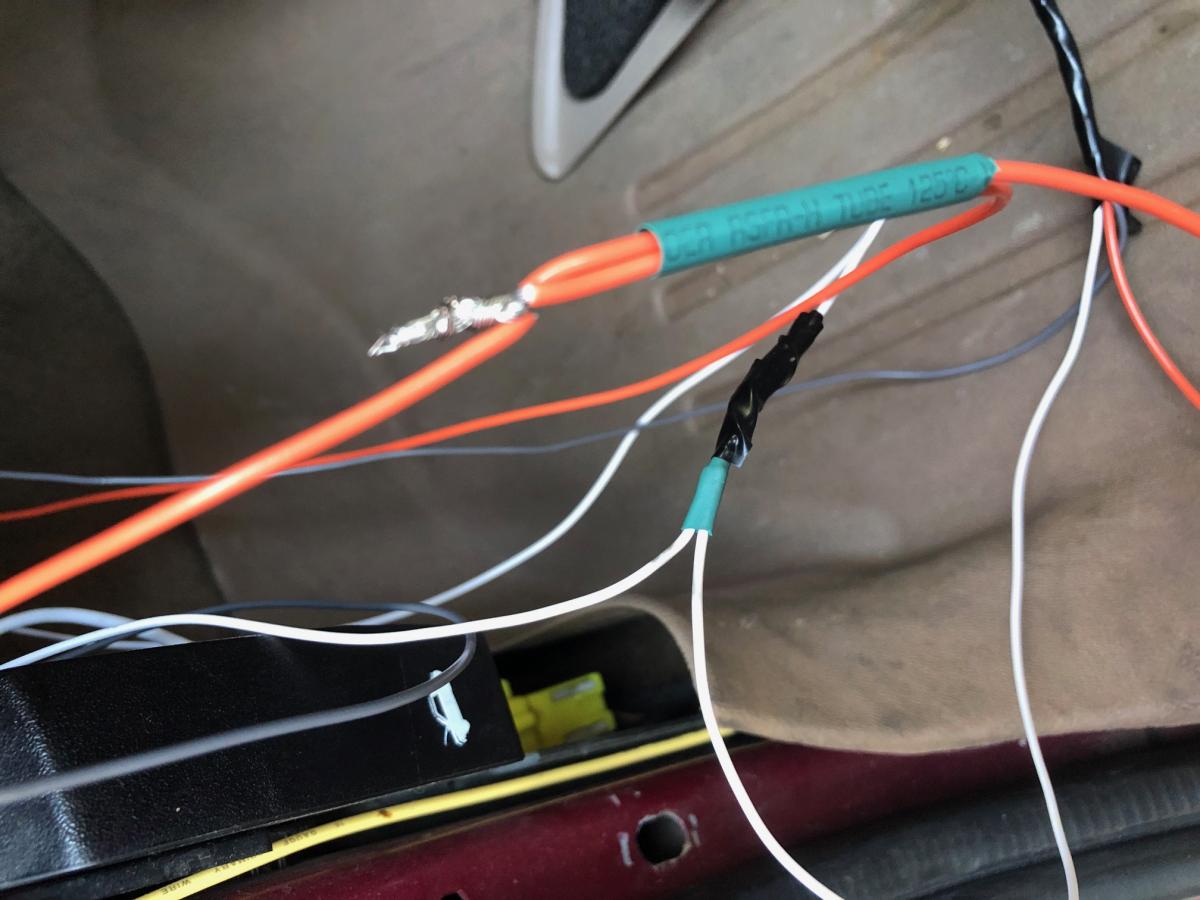
8. Now connect the passenger side white and orange wires to the driver side. We cut the wires on the driver's side and soldered them into the passenger side. After we finished splicing, we taped all the wires and routed them under the dash out of the way.
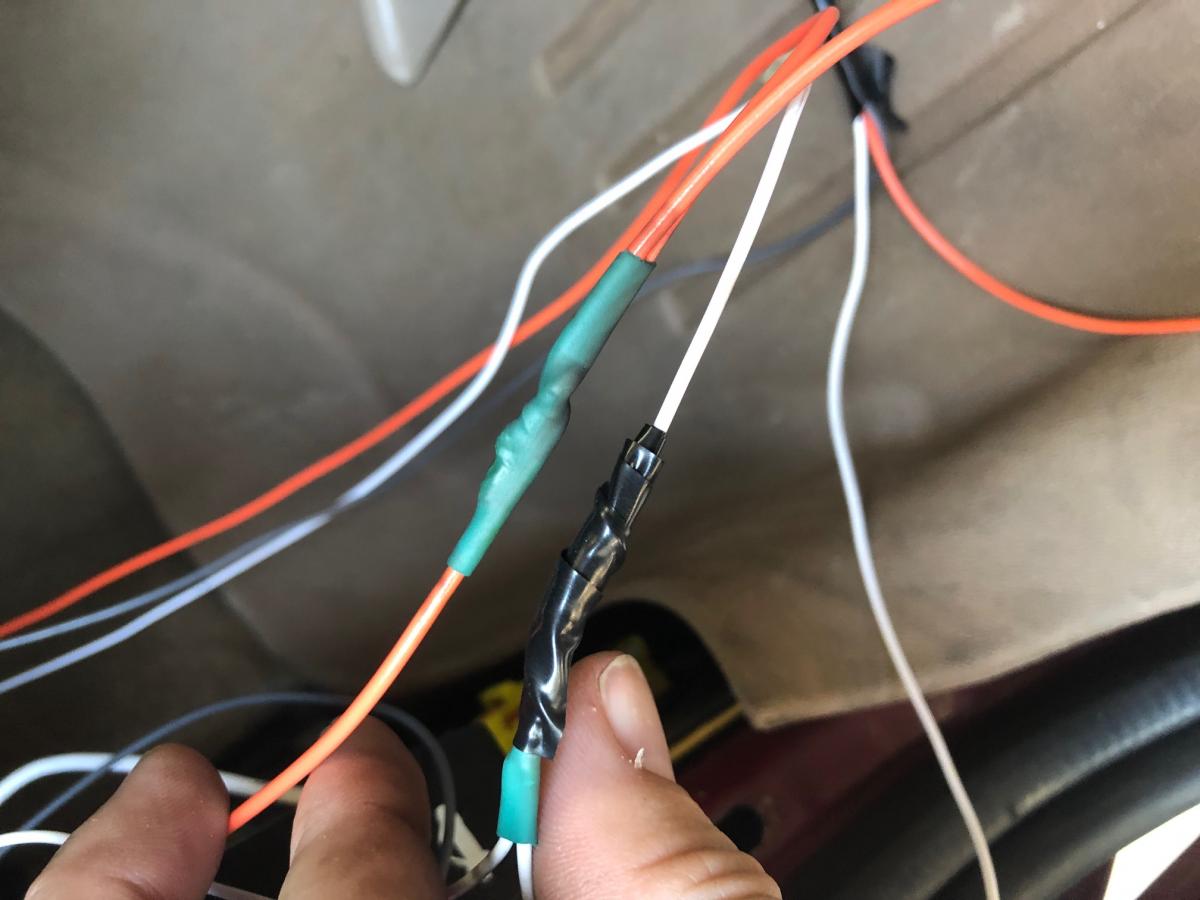
9. After taping up most of the wires we then found good places to route and zip tie them up under the dash. There's a group of wires behind the brake controller pictured and we zip-tied these wires to it.

10. Moving to under the hood, we used the 2 wiretaps from boost auto. Strip the wire and insert it into the wire tap connector.
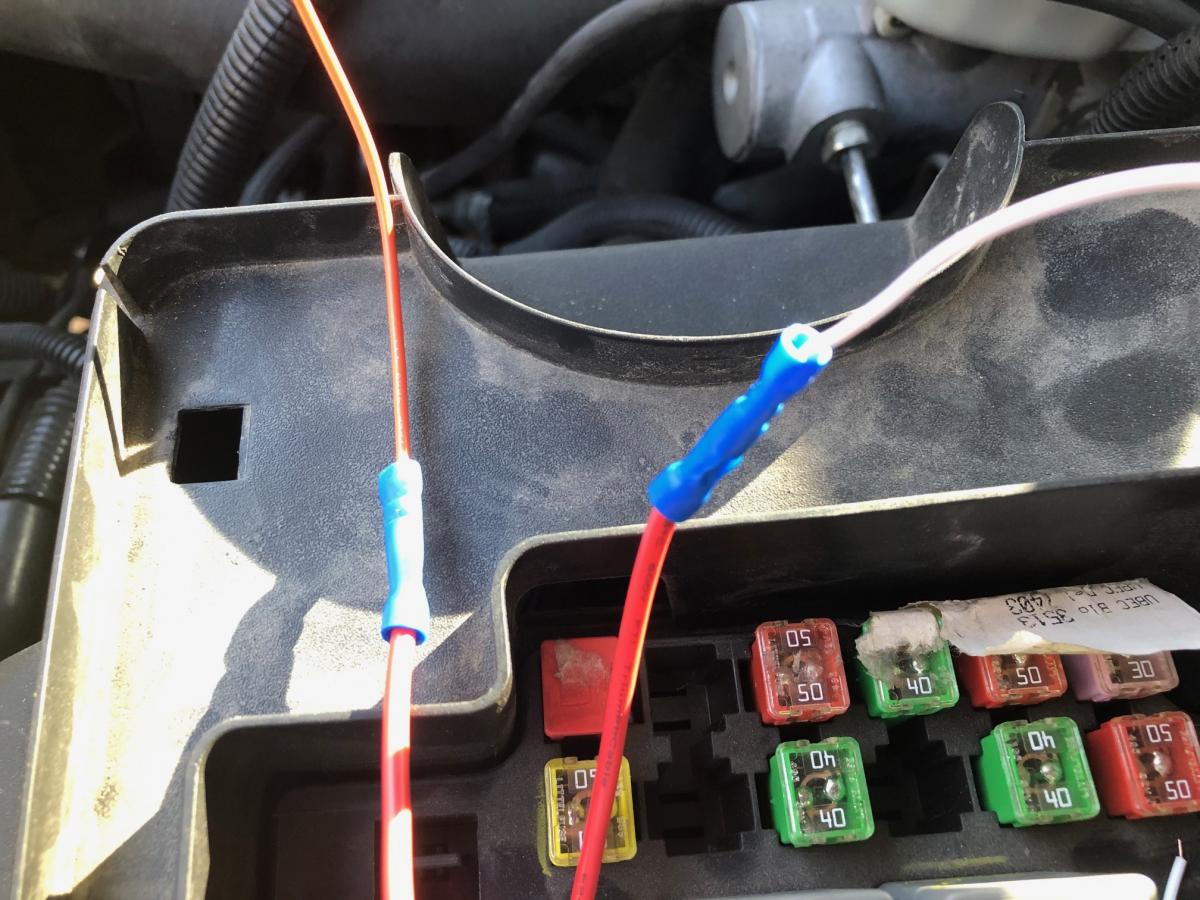
11. The orange wire (running lights) will use the trailer park fuse, take out the existing fuse and insert it with the wire tap connector. The white wire (reverse lights) will use the trailer backup fuse, following the same step as the orange wire. We recommend taping the wires under the hood or using a wire sheath for protection.
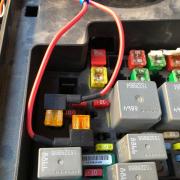
12. Test your lights before reinstalling door panels and finish taping everything up.
Reverse high LED beam
_1.jpeg)
Some Install Tips:
- On the door panels be very careful with the light in the corner as they tend to break, pop it out with your hand gently.
11/2/19- Update: Driver side mirror has a vibration in the large glass, will continue to see if it gets worse.



 (1)_810.jpeg)