Today we're going to cover the installation of the BR10 GoRhino Front & BR20 Rear bumper for the 15-19 Chevy Silverado 2500/3500 HD! The BR10 model features a place for a winch, aftermarket fogs, shackles, and more!
A few Notes before we go into detail on this Bumper. First, we'll start with the Front Side BR10. Ship weight is 188 pounds for the front bumper alone and 67 pounds for the winch tray.
***ALL PRODUCTS WILL BE POSTED BELOW HERE FOR ANYBODY INTERESTED***
- - Front Bumper - https://www.injectedmotorsports.com/product/go-rhino-br10-front-bumper-r...
- - Rigid Rear Flood Pods - https://www.injectedmotorsports.com/product/flood-flush-mount-black-pair...
- - Rigid Front Diffused Pods - https://www.injectedmotorsports.com/product/diffused-flush-mount-pair-d-...
- - Rear Bumper - https://www.injectedmotorsports.com/product/go-rhino-br20-rear-bumper-re...
- Not compatible with models with the Driver Alert Package (We'll discuss how to retrofit the current bumper on this)
- Required one-piece welded winch tray built from 1/4" thick steel for use with winches up to 16,500 lbs (Sold separately, part no. 24273TW)
- Optional items are thumb screws for faster assembly, fog light mounting plates, & winch
We'll break down the key install notes as GpRhino's installation guide is pretty decent to follow. This vehicle is also having the Rigid LED pods installed both in front and rear bumpers.
Front Bumper Notes
#1 - After taking off your factory bumper check to see if any pieces are missing and also a good time to check on other components that are usually difficult to see with the bumper in the way.
#2- This step is for trucks with the driver alert package. This bumper doesn't come with the pre-drilled holes for the sensors. The first step is to carefully take the sensors out of the old bumper along with the wiring harness. Mark the sensors to show the inside/outside and the driver/passenger side and what direction they were facing. It's easier to remove the metal bracket to gain access to the sensors.
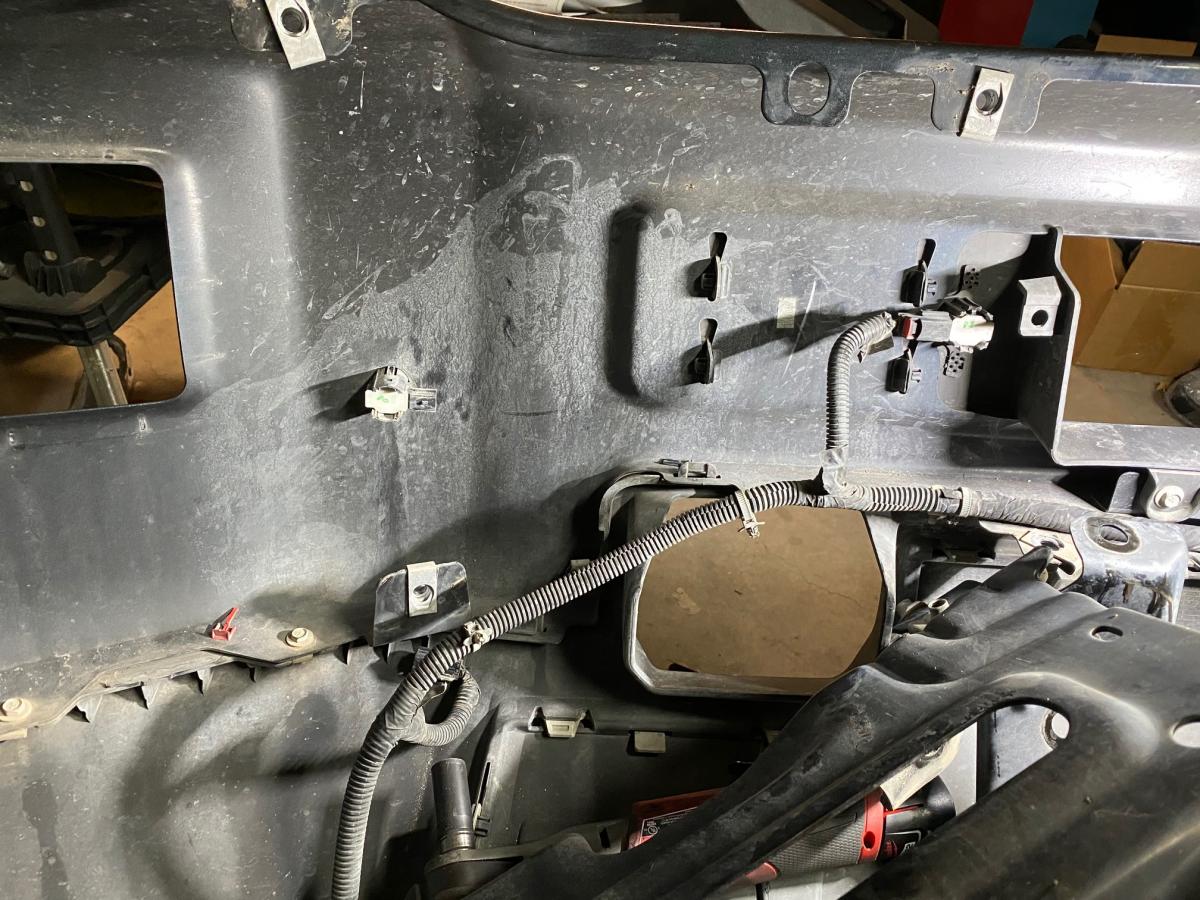
#3- Once you've taken out the sensors, marked them, and reassembled the factory bracket (if you wish to do so), Now is the time to prep the new bumper, winch tray, and sensor holes.
#4- Since there are no pre-drilled holes this is the time to drill the new bumper. There are 2 options for mounting locations. The easier way is to drill the 4 holes in the mesh side piece,s and you can choose whether or not to use the plastic retainer clips off the old bumper to hold the outside sensors. (we chose to do that on this truck). The other option is to drill the meta bumper itself, and this will be closer to the factory locations, but drilling 1/8" steel can be a chore and risk ruining the finish if not done properly. To secure the sensors in the holes drilled you can use several methods of your choice such as zip ties, silicon, gorilla glue, or some other type of light adhesive. Our outside holes were tight enough to fit they didn't need anything as the plastic clip held the sensor firmly.
#5- After the sensors are drilled and installed then we move on to the wiring of the rigid pods. To wire it into the factory harness for the fog button we spliced it into the harness plug (brown/ purple) wire and then grounded it out to a bolt head on the frame. We used the rigid wiring harness to snap the plugs into the lights. After everything is working properly, we taped up the wires and will zip tie them out of the way on the vehicle.
#6- The main issue we ran into is the Winch Tray rubbing against the transmission cooler bracke,t and while some leave it there we did not want it to rub. After measuring on the truck where the brackets hit we cut a notch out of the winch tray to clear the bracket. We also cut the plastic shroud clips off so they would clear on the bottom. Don't forget to measure each side of the winch tray, so it's centered on the truck.
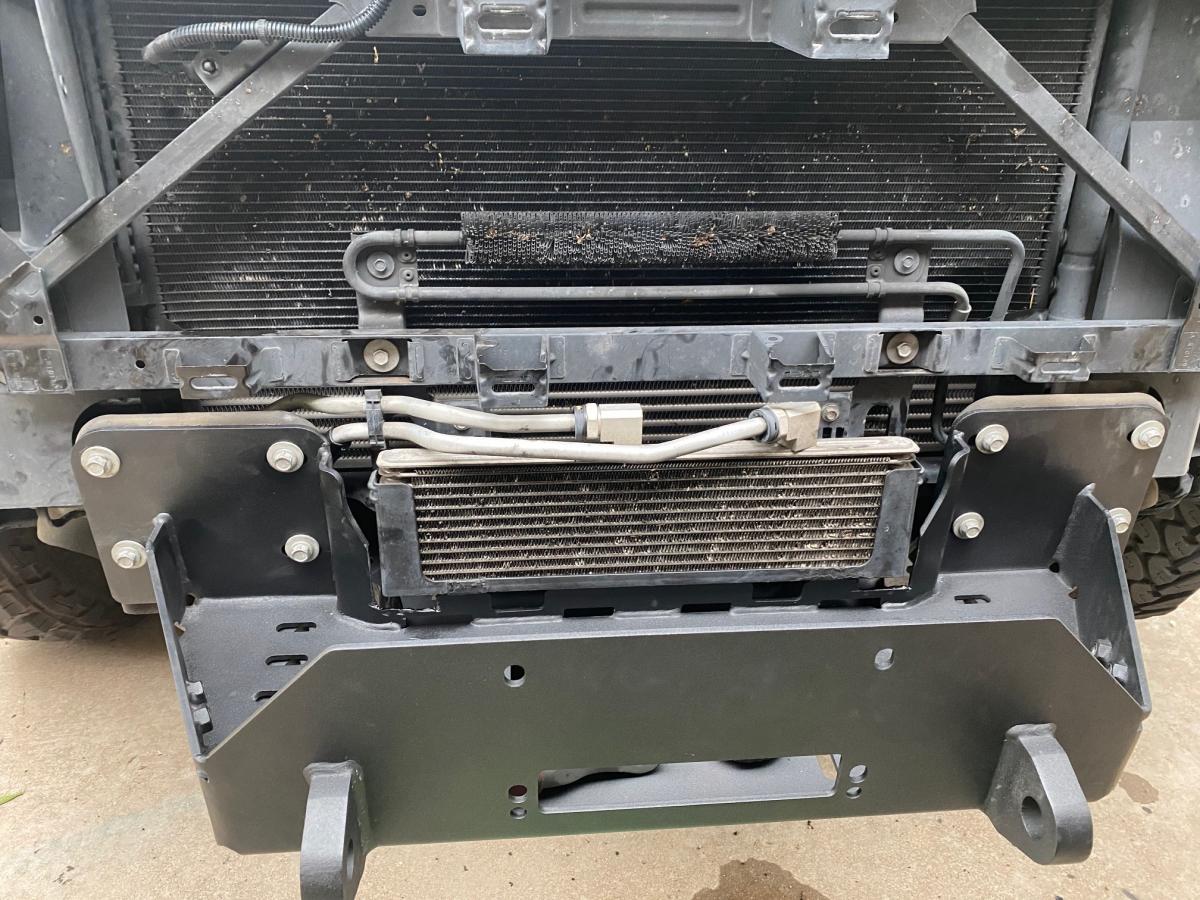
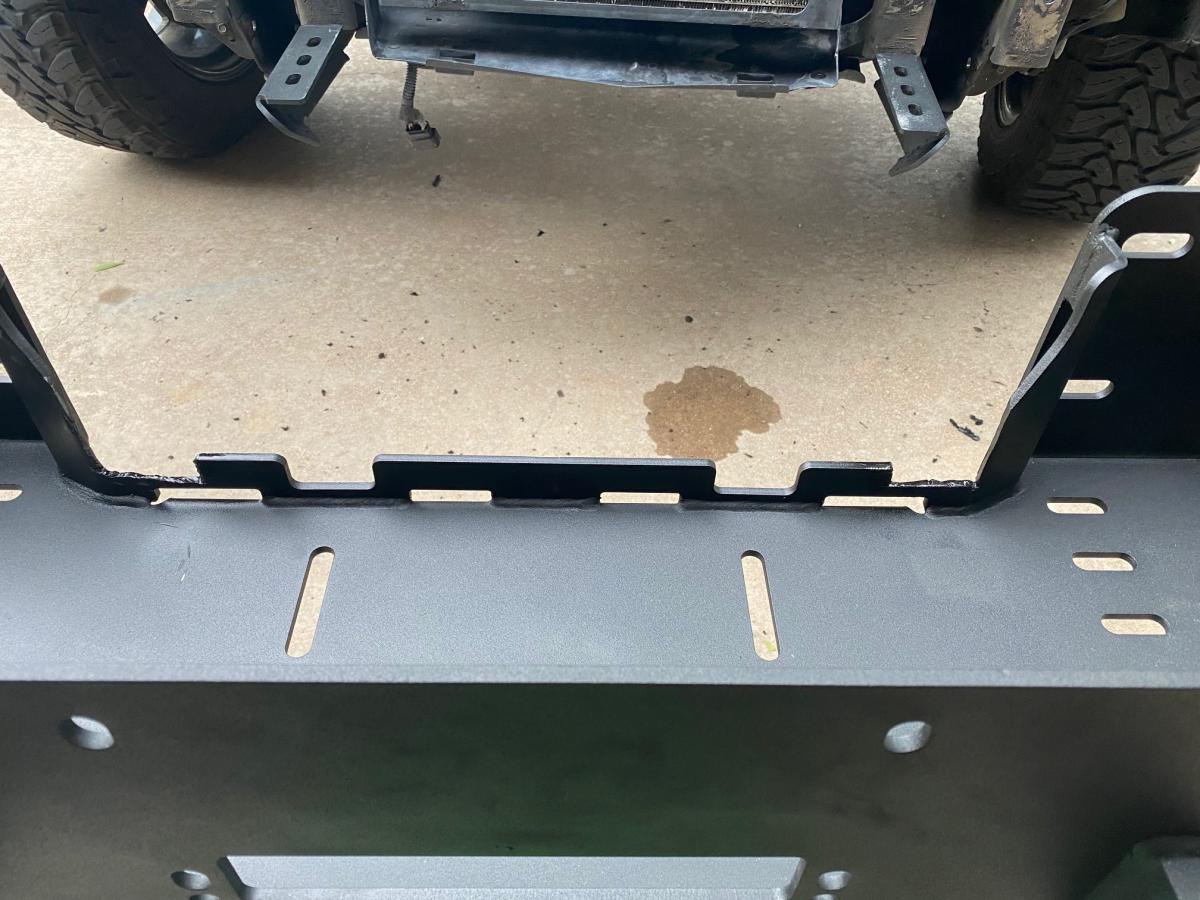
#7 Now would be the time to install the winch of your choice that's designed to fit the slot. Secure all wiring to the best place inside the winch tray or underneath, and tighten all the bolts after adjusting the bumper. (We used a little bit of gorilla glue to hold the backside of the sensors in place).
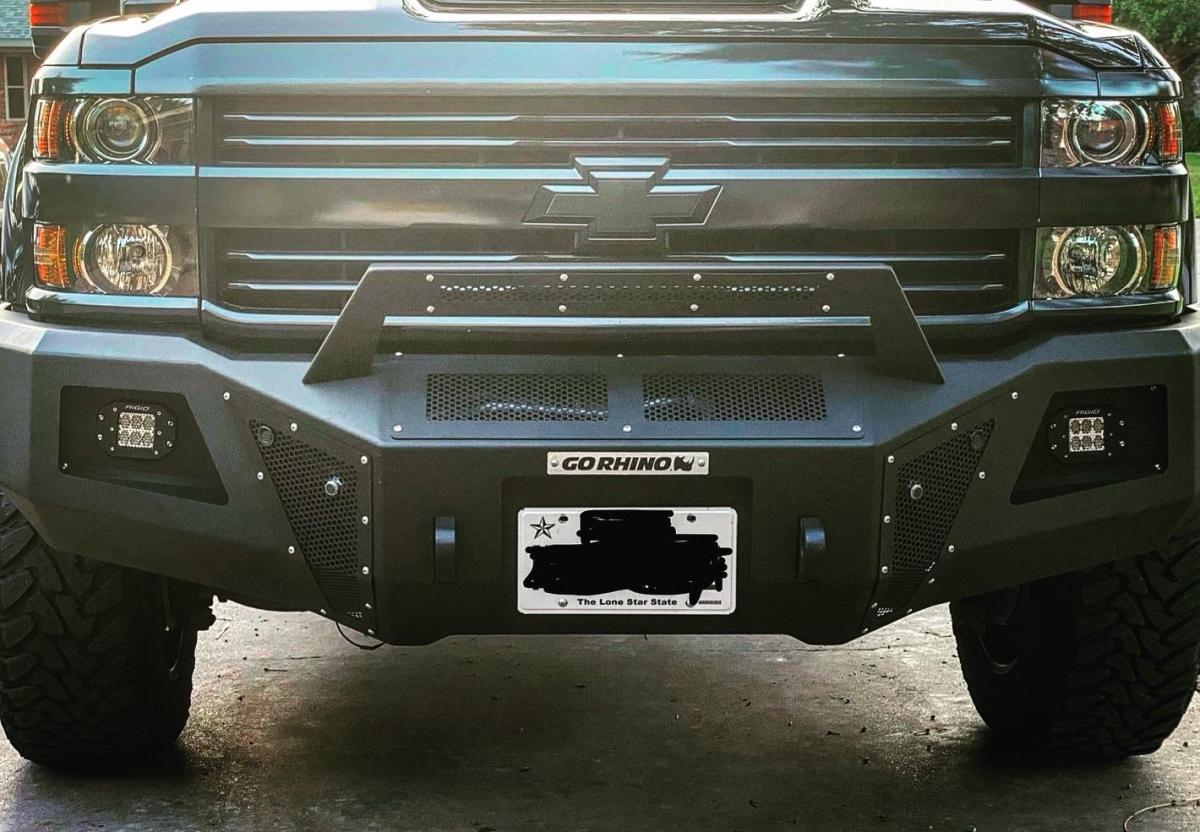
-- More in the Video Below
Rear Bumper Notes
#1 Disconnect the wiring harness and trailer plug and lower the spare tire down to give you more space.
#2- Loosen all the bolts including the 4-bed bolts in order to remove the factory bumper. (Used a jack to raise the bed just enough for it to clear
#3- Once off, transfer all the sensors and wiring harness over, matching the placements once again.
#4- On the wiring, we tapped into the reverse lights for the rigid pods and used the existing license plate plugs, and hardwired that in. ( We recommend doing the Flood style over the spots as it gives a wider projection and better for reverse lighting).
#5- The 3M tape that comes on the plate brackets that hold the sensors didn't stick well so we put on some bigger thicker pieces and it held just fine.
#6- For the spare tire insert, you choose which hole matches up the best then plug the other up. You can leave it how it sits, or you can drill it out a little more if you want to fit your factory key lock back into place.
#7- After everything is wired together, position the bumper to match side to side and tighten everything up.
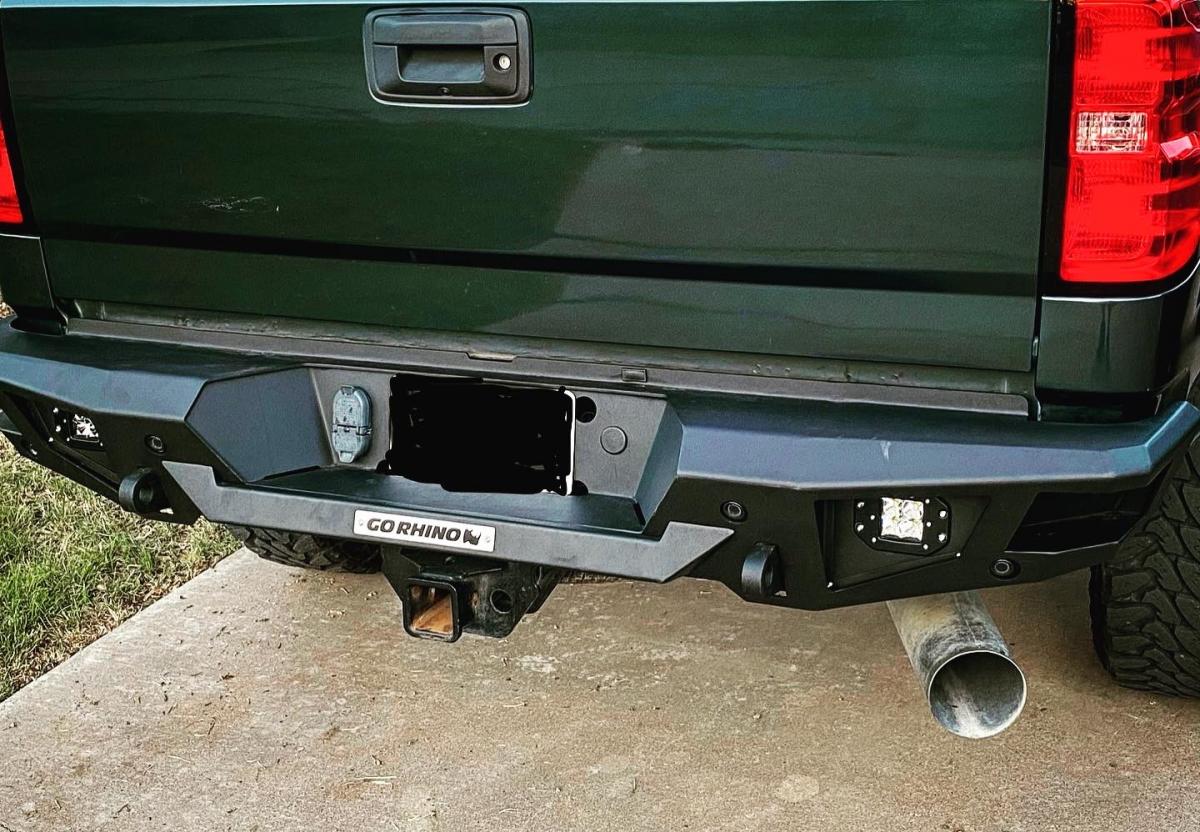
Overall Opinion
- Very well-made bumpers and they are solid no doubt with the winch plate being nearly 70 pounds by itself of 1/4" thick steel. GoRhino has mentioned doing pre-drilled holes for the sensors in the near future, and that will make the process go much faster for the front. Also, the cutouts for the winch plate took some time, and they need to account for that bracket moving forward. Outside of the other small things pleased with how the bumper came out and again it's sturdy no doubt. Hope this helps!
- Front Bumper install time w/ lights, no winch, and the mods ~ 4.5 hours
- Rear Bumper install time w/ lights ~ 2.5 - 3 hours depending on 1 or 2 people.
INSTALL VIDEO:



 (1)_810.jpeg)